Organize Page Designer Pages in Folders
You can assign Page Designer pages to Business Manager content library folders. Folders keep pages organized and easy to find. Developers can write custom code that implements page navigation based on folders. For example, custom code can add breadcrumbs to the tops of pages or accordian-style page navigation based on folders. Developers can also write custom code that specifies that when a shopper performs a search, the shopper sees results organized by folder.
- If you copy a page, the copy is assigned to the same folder as the original page.
- You can configure SEO URLs for Page Designer pages in content folders, like for other content assets. For more information, see Create Catalog and Content URLs.
- If you have a large number of pages you want to assign to folders, it can be more efficient to do a bulk upload and page assignment. See Bulk Upload Pages to Folders for instructions.
-
From the visual editor, click the dropdown menu next to the page you want to
assign to a folder and select Assign to Folder.

-
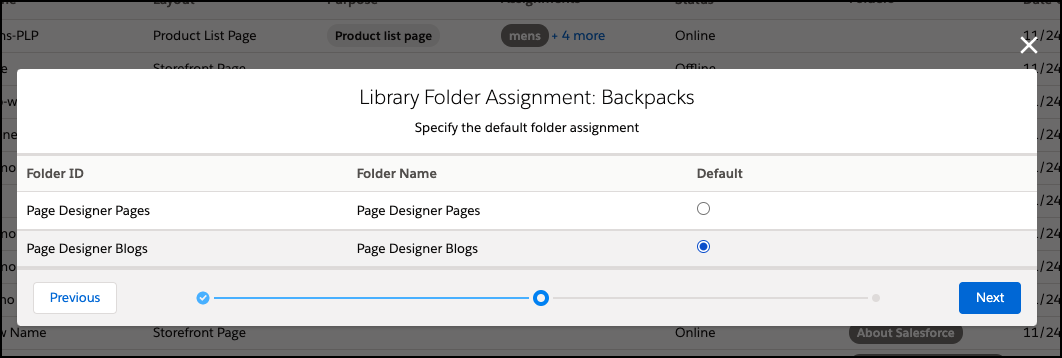
Select one or more folders for the page.
If you select multiple folders, you must choose one folder to be the default. Depending on how your developer implements custom code, the default folder can determine which folder is used for store navigation. For example, the developer can specify that the default folder is used for breadcrumbs or as the folder presented to the shopper as part of search results.
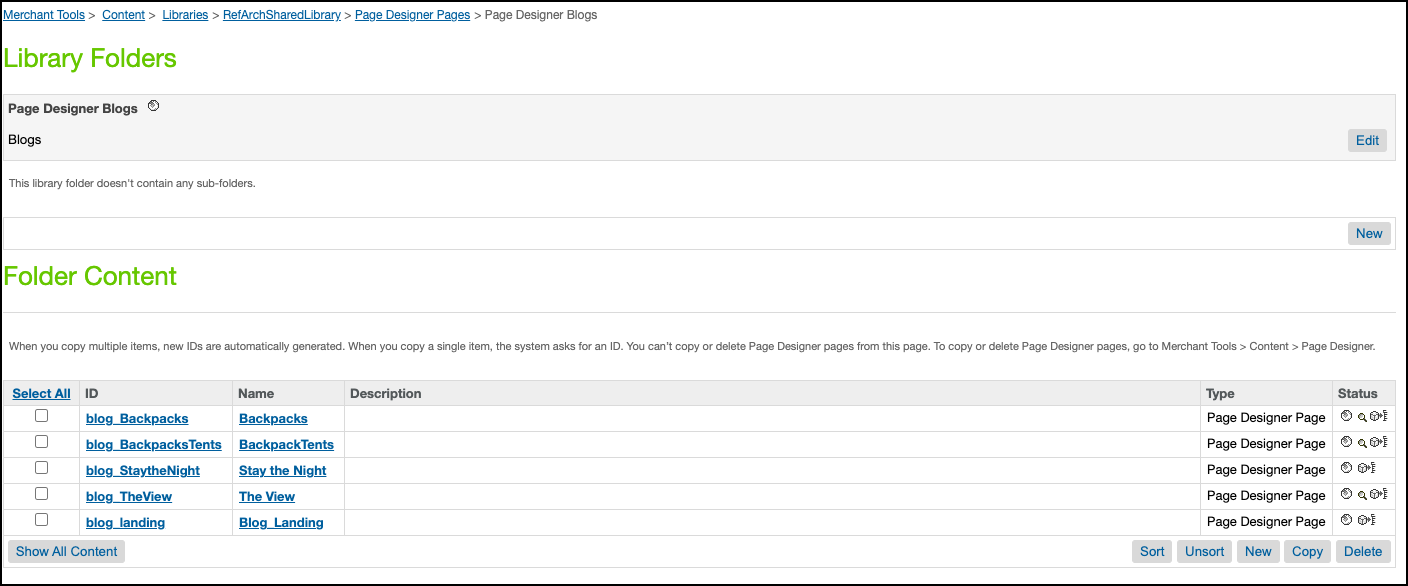
 The Page Designer pages you add to content library folders are listed at in Business Manager, but you can’t delete pages from the Folder Content window. You can delete pages only from the Page Designer visual editor.