Pipeline Scripting Quick Start Example
The following example demonstrates in a step-by-step approach the necessary tasks to run a simple JavaScript script in a Salesforce B2C Commerce pipeline. The example prints "Hello B2C Commerce!" via a script into an HTML page.
-
Create a Custom Cartridge.
-
From the Studio menu, click File > New >
Cartridge.
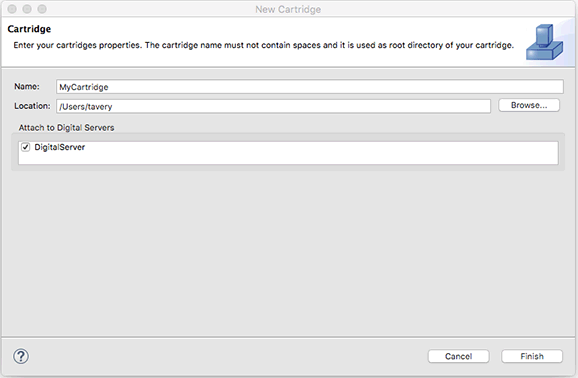
The Cartridge dialog box opens. - Enter the name of your new cartridge (for example, MyCartridge).
- In the Attach to B2C Commerce Servers section, select one or more B2C Commerce Servers and click Finish.
-
From the Studio menu, click File > New >
Cartridge.
-
Create a new Pipeline.
-
Expand your cartridge in the Cartridge Explorer. Right-click
Pipelines and select New > Pipeline.
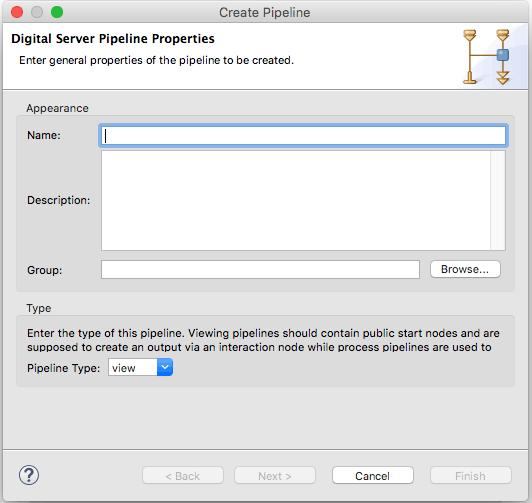
- Enter the pipeline name: MyScript.
- Add a Start node by dragging it from the palette.
-
Create a scripting pipelet called pipeletScript by dragging a
Script Node from the palette.
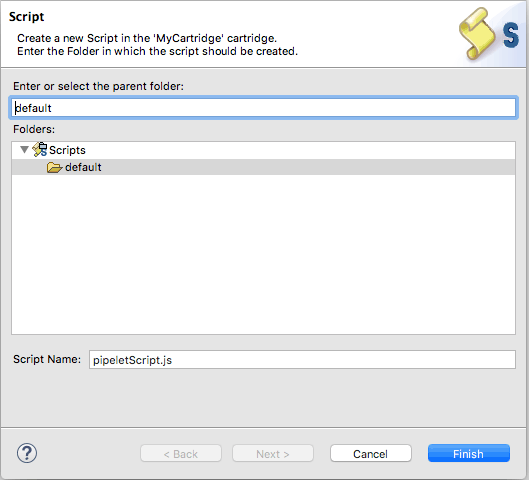
You can select a script file or enter a name to create a new file. -
Enter the script name: pipeletScript.ds and click
OK. The script will open in the editor.
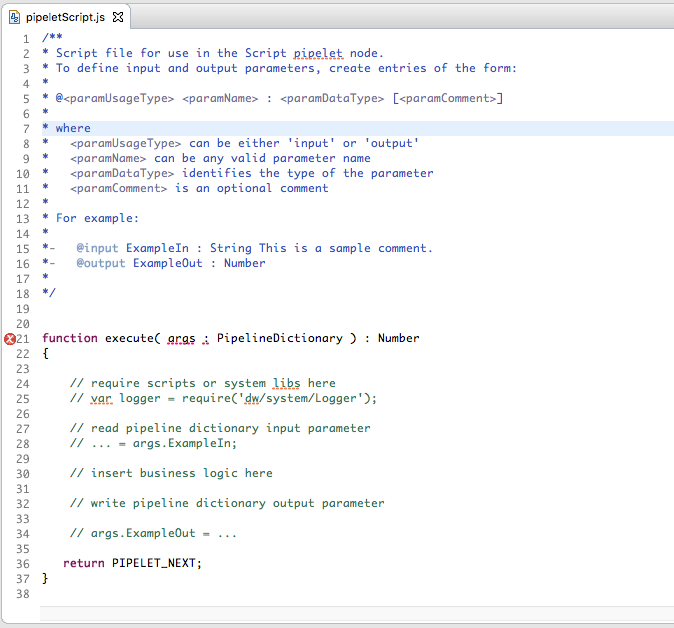
-
Modify the script to look as follows (and as shown
above):
/** * B2C Commerce script File * To define input and output parameters, create entries of the form: * * @<paramUsageType> <paramName> : <paramDataType> [<paramComment>] * * where * <paramUsageType> can be either 'input' or 'output' * <paramName> can be any valid parameter name * <paramDataType> identifies the type of the parameter * <paramComment> is an optional comment * * @output Output1 : String the greeting to display */ importPackage( dw.system ); importPackage( dw.customer ); function execute( pdict : PipelineDictionary ) : Number { // write pipeline dictionary output parameter var output1 : String = "Hello B2C Commerce!"; pdict.Output1 = output1; return PIPELET_NEXT; } - Save your changes and return to the MyScript pipeline in the editor.
- Select the pipelet you just created and In the Properties view, set the pipelet alias to the Output1 value (In Dictionary Output set Output1 to Output1). The default is null, meaning that the value isn't written to the Pipeline Dictionary..
- Add an Interaction node to the pipeline by dragging it from the palette, to beneath the script node. Drag a transition from the palette to connect the script node to the interaction node.
-
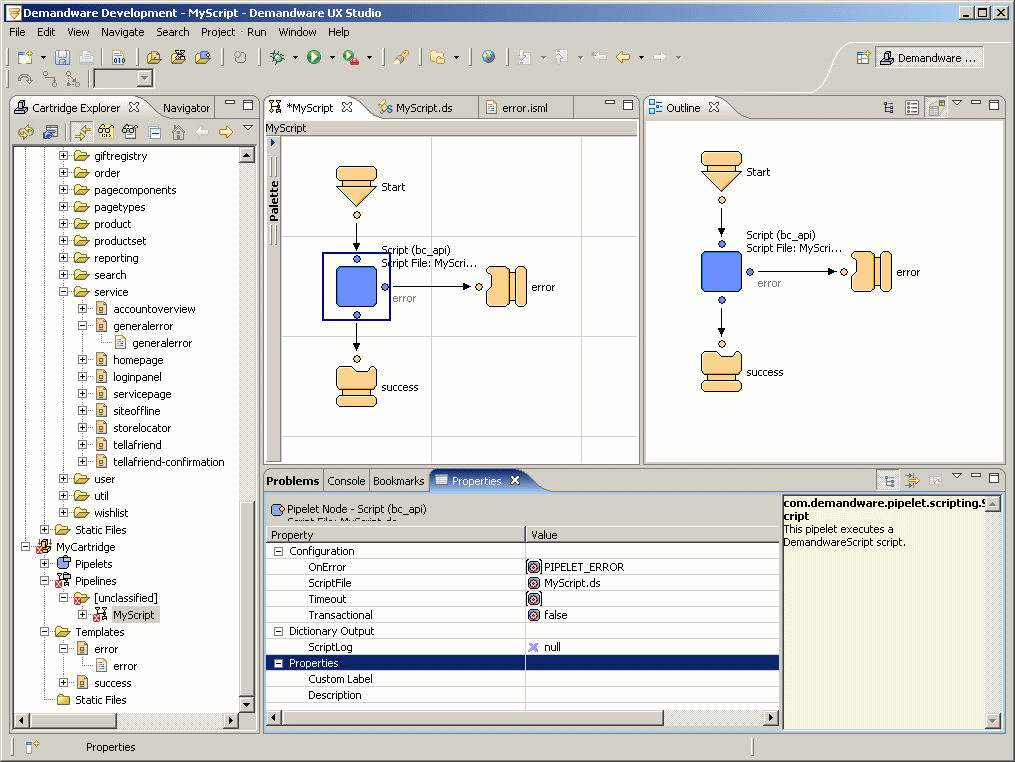
Add an Interaction node to the pipeline by dragging it from
the palette, to beside the script node. Drag a transition node
from the palette to connect the script node to the interaction
node, which will rotate to adjust to the transition. The Pipeline
should look like this:
-
Expand your cartridge in the Cartridge Explorer. Right-click
Pipelines and select New > Pipeline.
-
Now we will add two new templates for error processing:
success.isml and error.isml.
- In the Navigator view, select templates > defaultfor your cartridge.
-
Right-click New > Template. The Create Template
dialog box appears (for each template creation).
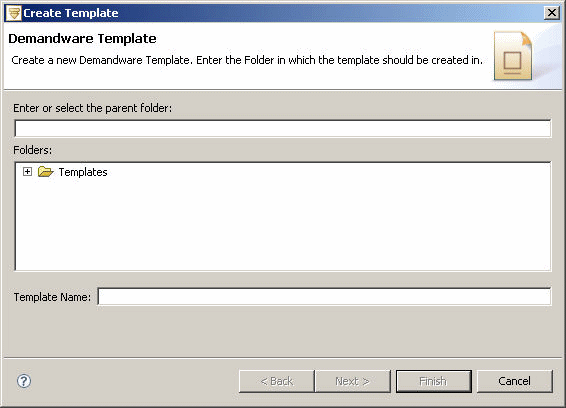
- Select the parent folder: Template and Create two files, one at a time in the default directory: success and error (the .isml extension will be added automatically).
-
Open the file "success.isml" and enter the following ISML
code:
<html> <head> </head> <body> <h1>Success - hey it works!</h1> ${pdict.Output1} <isprint value="${Output1}"> </body> </html> -
Open the file "error.isml" and enter the following ISML
code:
<html> <head> </head> <body> <h1>Error in Script</h1> <pre> <isprint value="${ScriptLog}"> </pre> </body> </html> -
We now can configure the pipeline and refer to the script file
and the ISML files.
- Open the pipeline MyScript that you just created.
- Select the Interaction node. Within the Properties view, click the template element. Browse to find the success template. Click OK.
- Select the Interaction Continue node. Within the Properties view, click the template element. Browse to find the error template. Click OK.
If you configured your cartridge correctly, your cartridge, pipeline, templates and script should be uploaded to the server.
-
In the browser, specify the following URL to call your new
pipeline:
http://<your demandware ip>
/on/demandware.store/Sites-YourShopHere-Site/default/MyScript-Start
For example:
http://name.eval.dw.demandware.net/on/
demandware.store/Sites-Mycartridge-Site/default/MyScript-Start
The first time you call the pipeline, it might take a while because the server needs to preprocess and cache the new files.
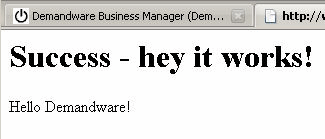
You see Success - hey it works! and then Hello B2C Commerce! in the browser window.
Infocenter Retirement: On June 30, 2023, the Infocenter was retired, and documentation currently hosted on the Infocenter will be published to Salesforce Help, Commerce Cloud Developer Center, and Salesforce B2C Commerce Developer Documentation Resources. For more information, see the release note.